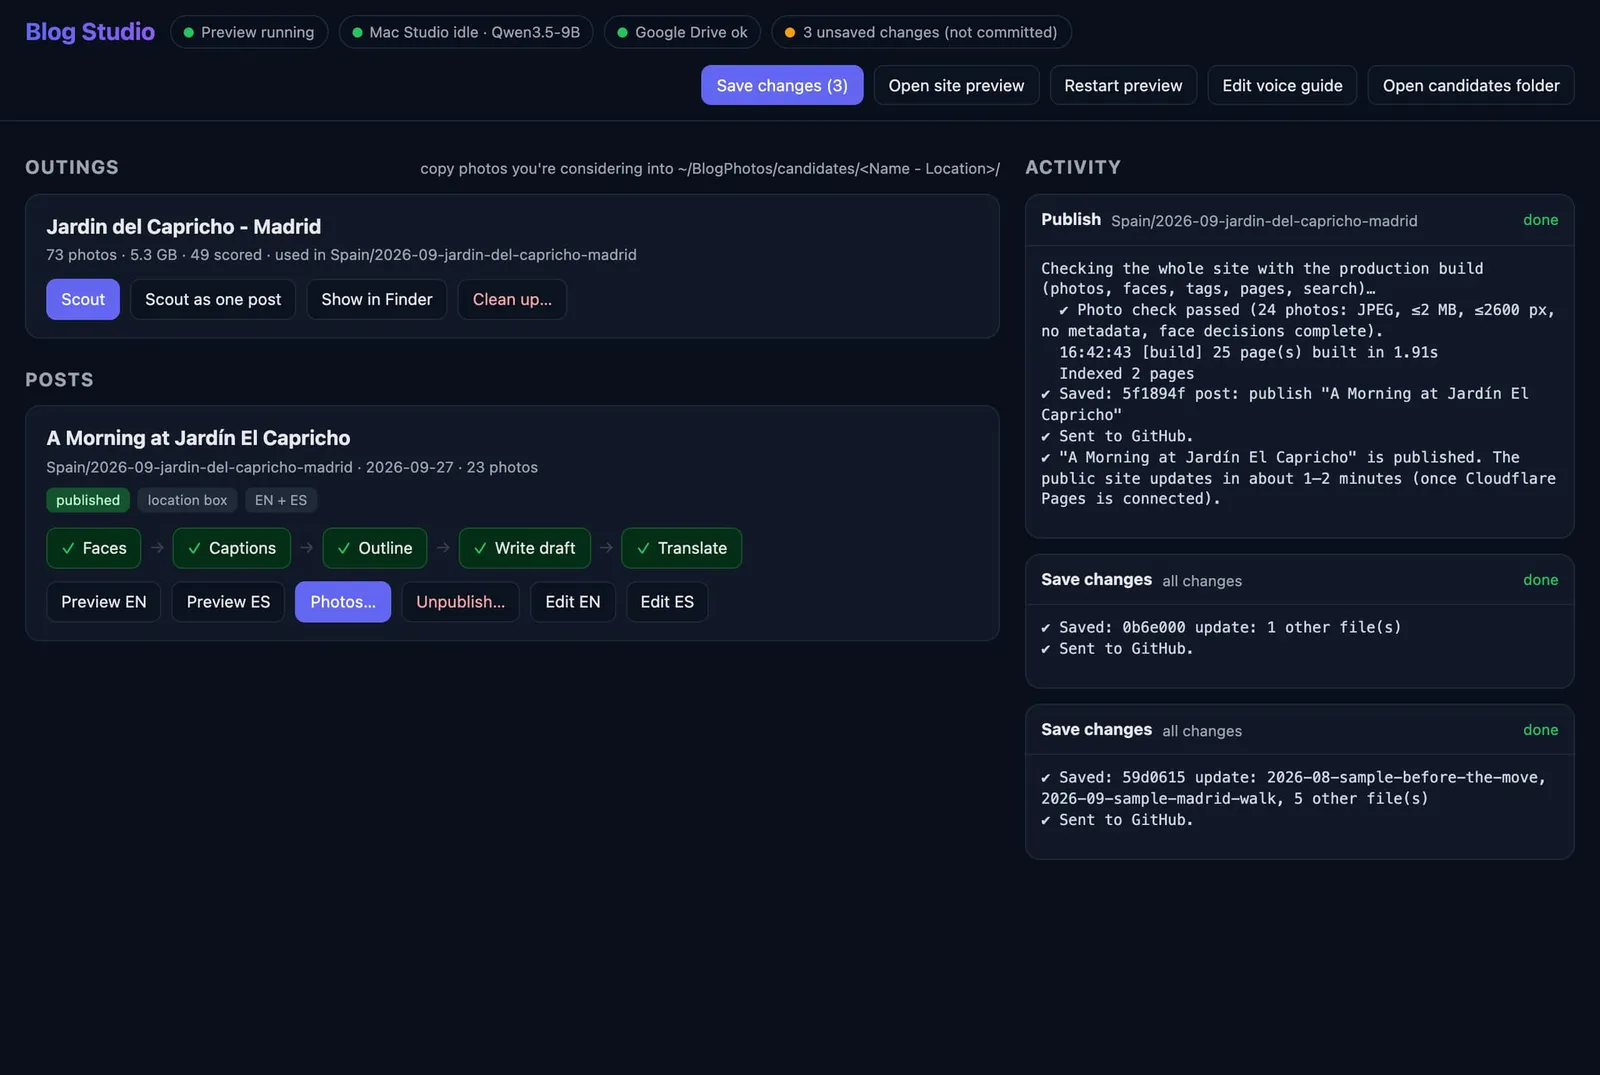
This is a bit of a different post. Instead of a walk in a garden, this is about how the garden post before it was actually made. I built this whole blog together with an AI coding assistant over one long weekend, and I wanted to show you how it works behind the scenes.
My goal was simple: go from a folder of photos to a bilingual (English + Spanish) post with as little manual work as possible, and without ever opening a terminal. The whole thing runs from one small app on my Mac that I call Blog Studio: the picture at the top of this post, with a button for every step of the process.
It started on Friday evening, 25 September, from a completely empty folder. By 22:00 the site had its dark design, English and Spanish pages, and a system for tags and topics. So the foundation was done in one evening - pretty cool indeed.
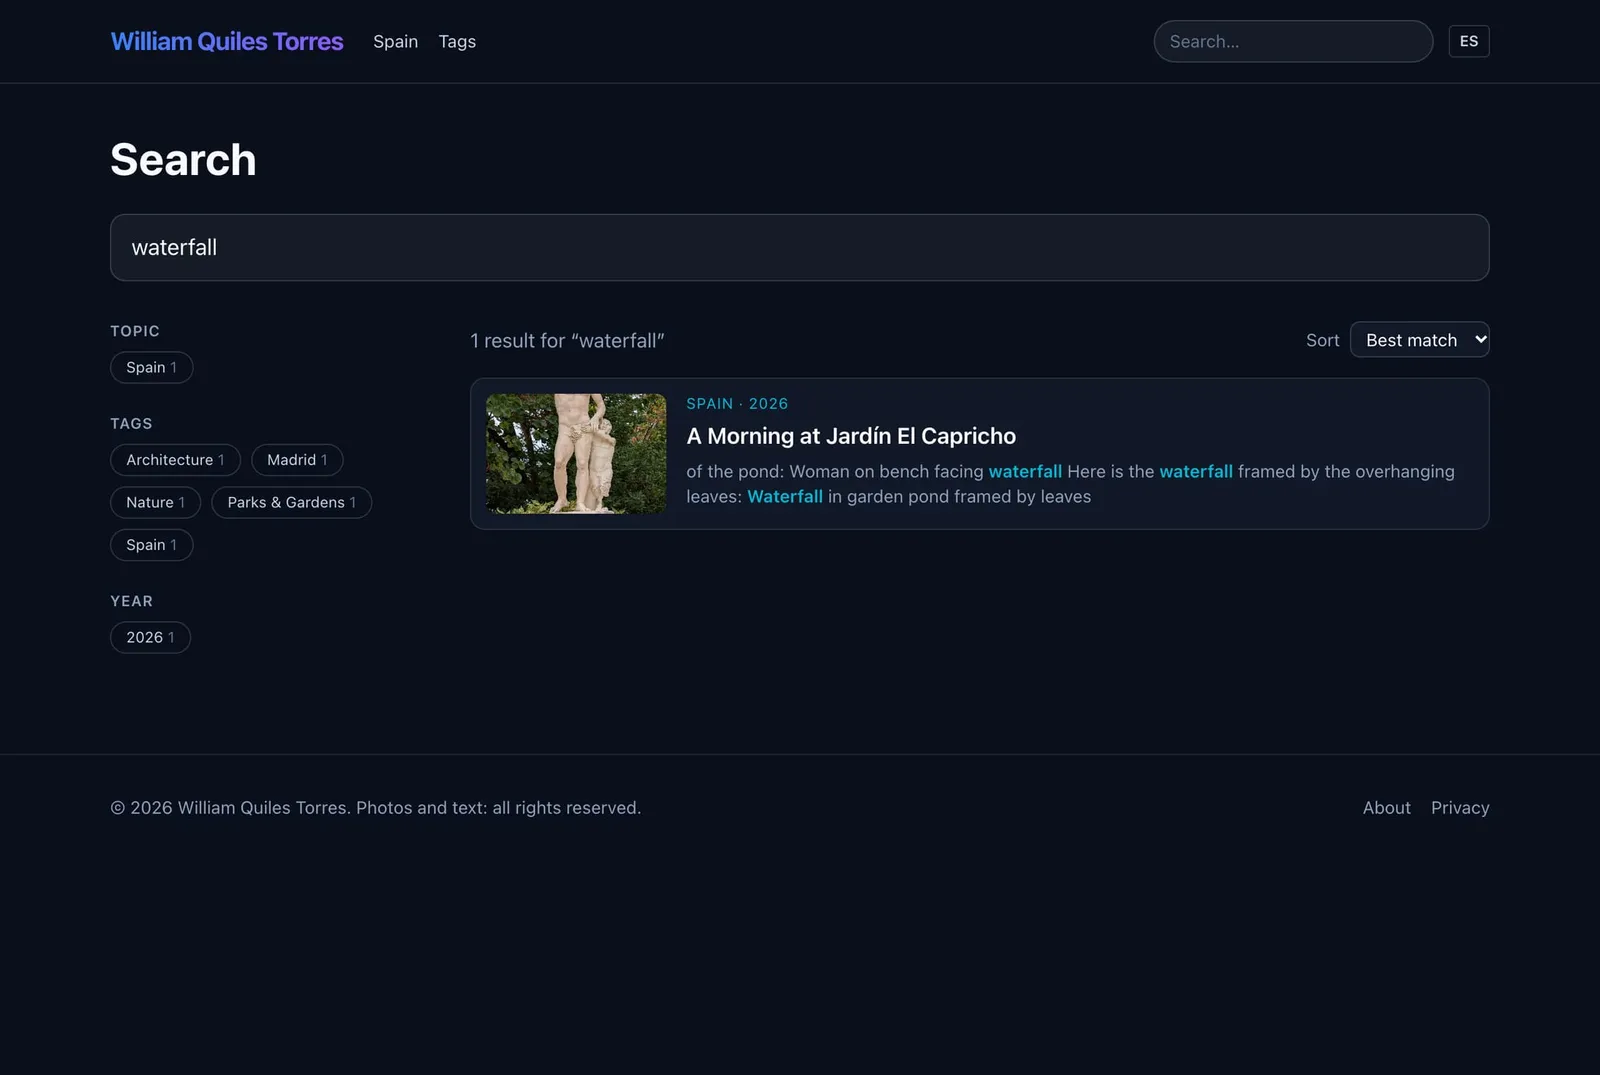
Saturday was about the photos. I added the galleries, a full-screen viewer, a search that runs right in your browser (no server needed), and a privacy pipeline for the photos. That last part is the one I cared about most, so I will come back to it.
Here is the search, looking for “waterfall” (it finds words in the photo captions too):
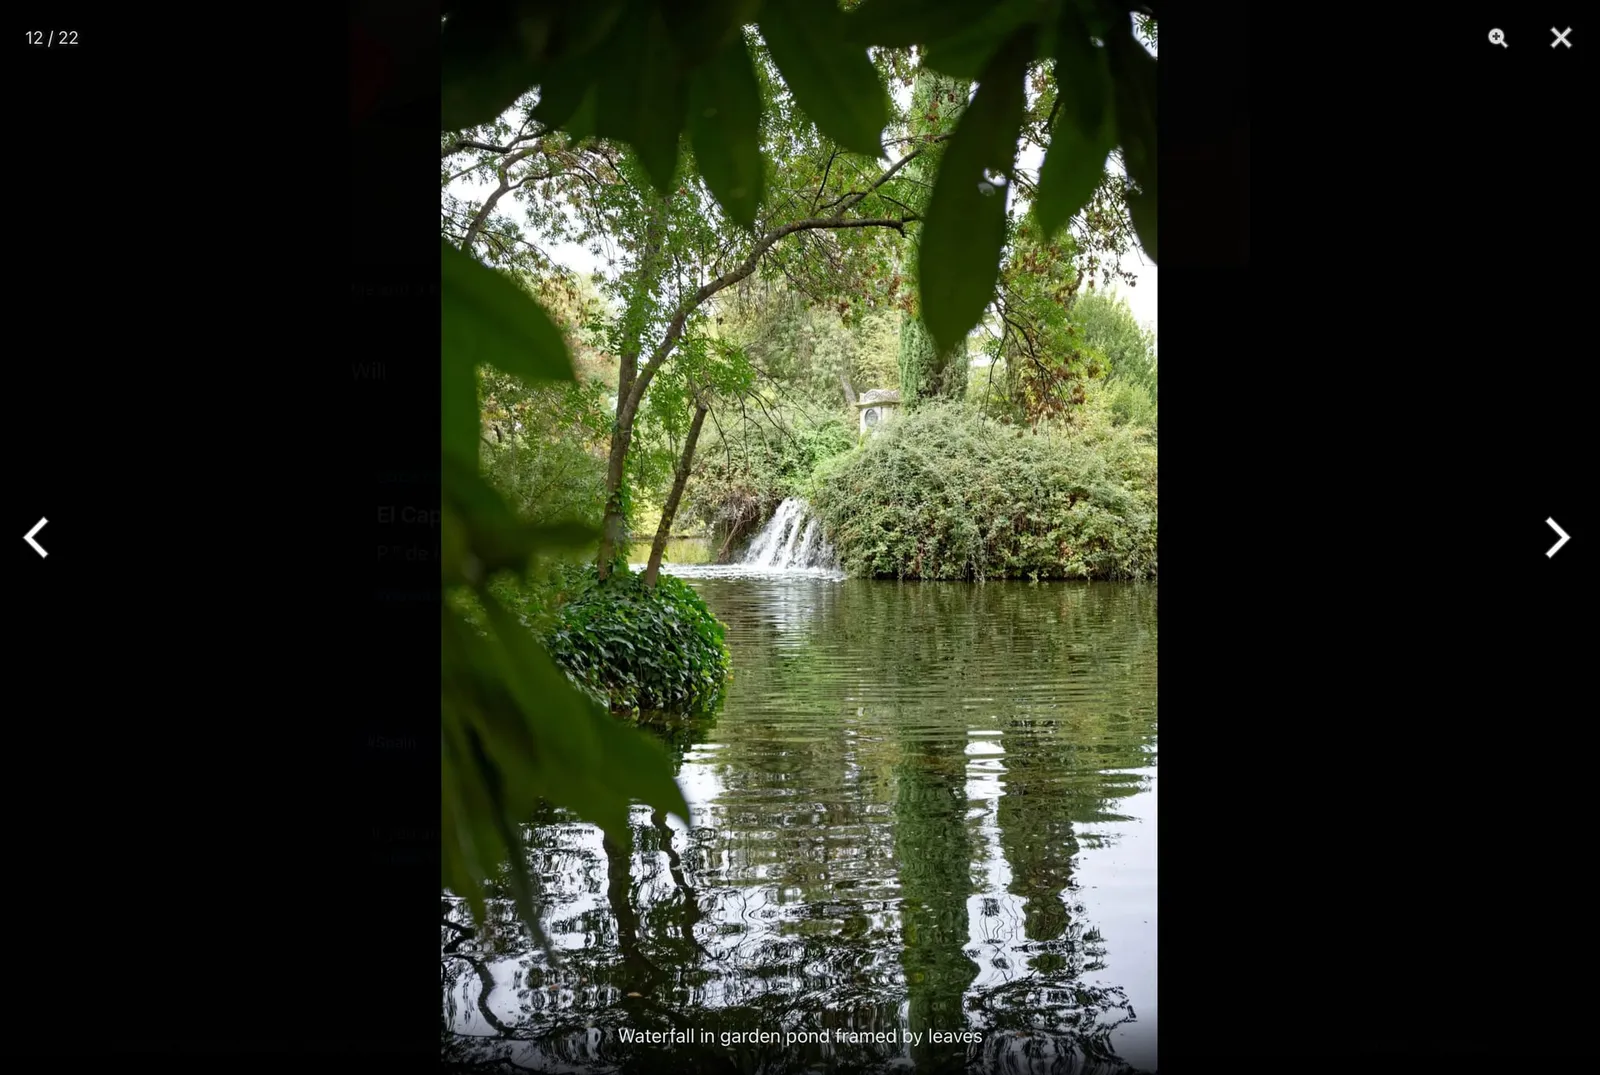
Here is a photo from the published post, opened in the full-screen viewer - it has a caption underneath:
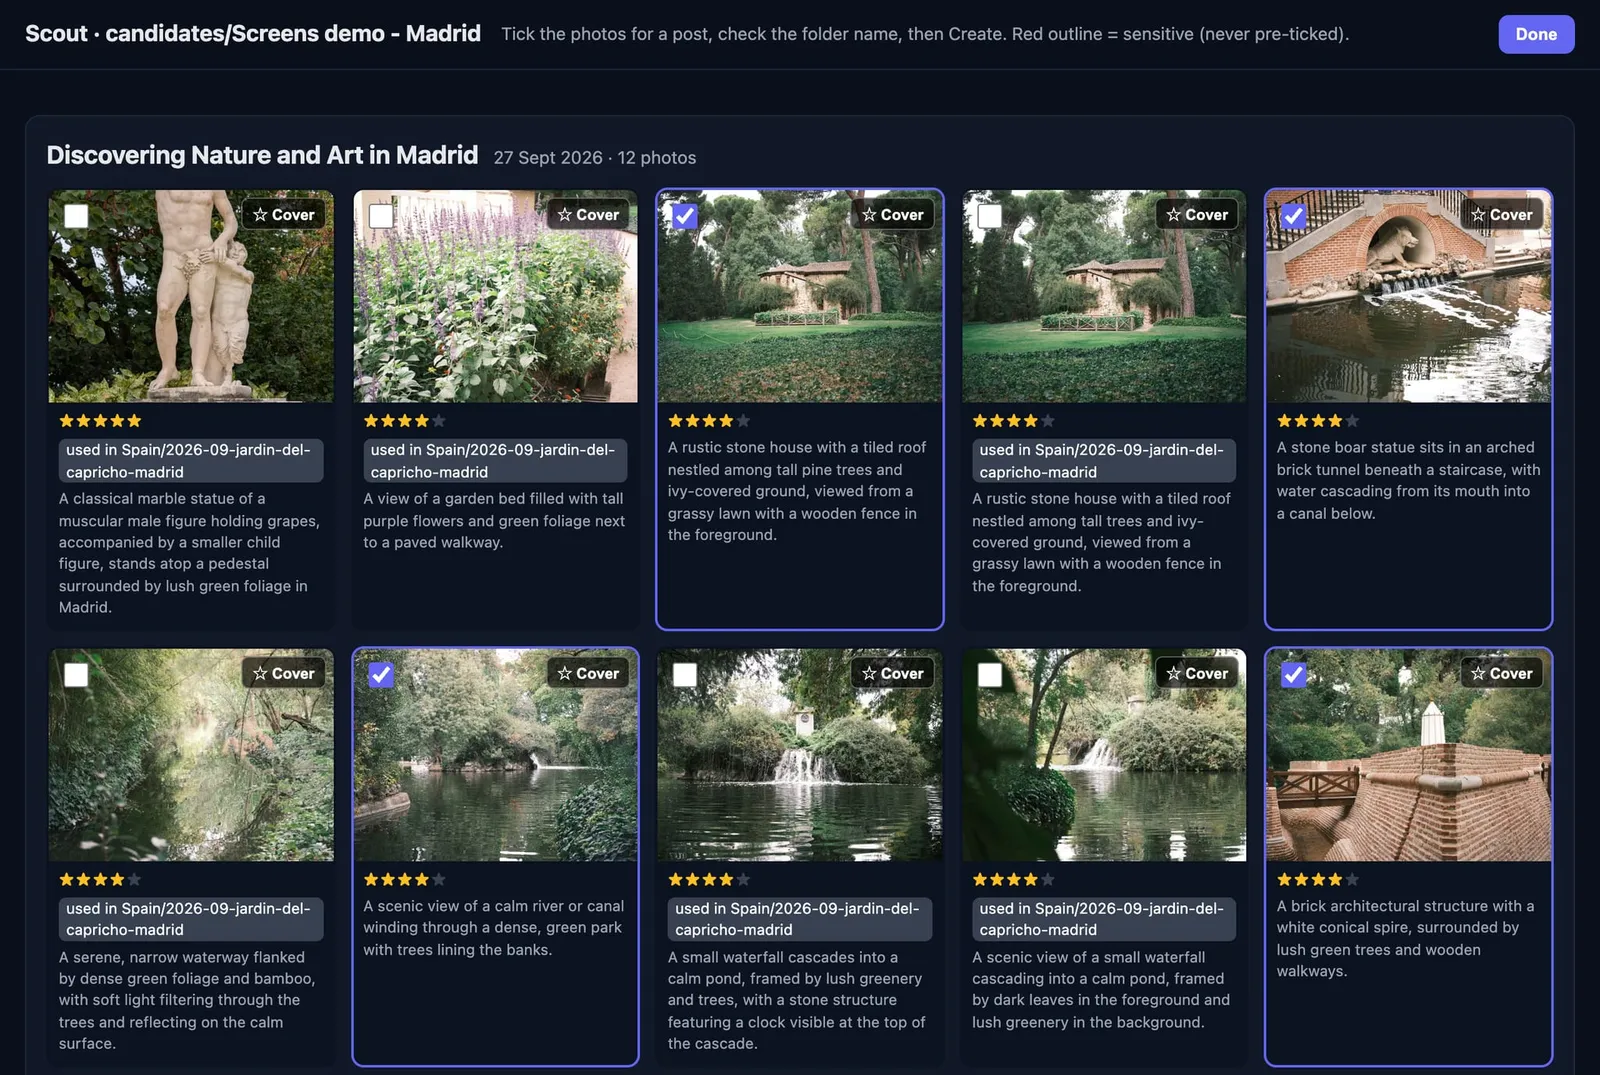
Sunday I built a step I call “scout”. It goes through an outing’s photos, drops the duplicates, the bursts and the blurry shots, and has the AI score the rest from 1 to 5 on a contact sheet. Then I tick the ones I want, star the cover, and click Create. It took the guesswork out of choosing.
Here is the contact sheet from the Capricho outing:
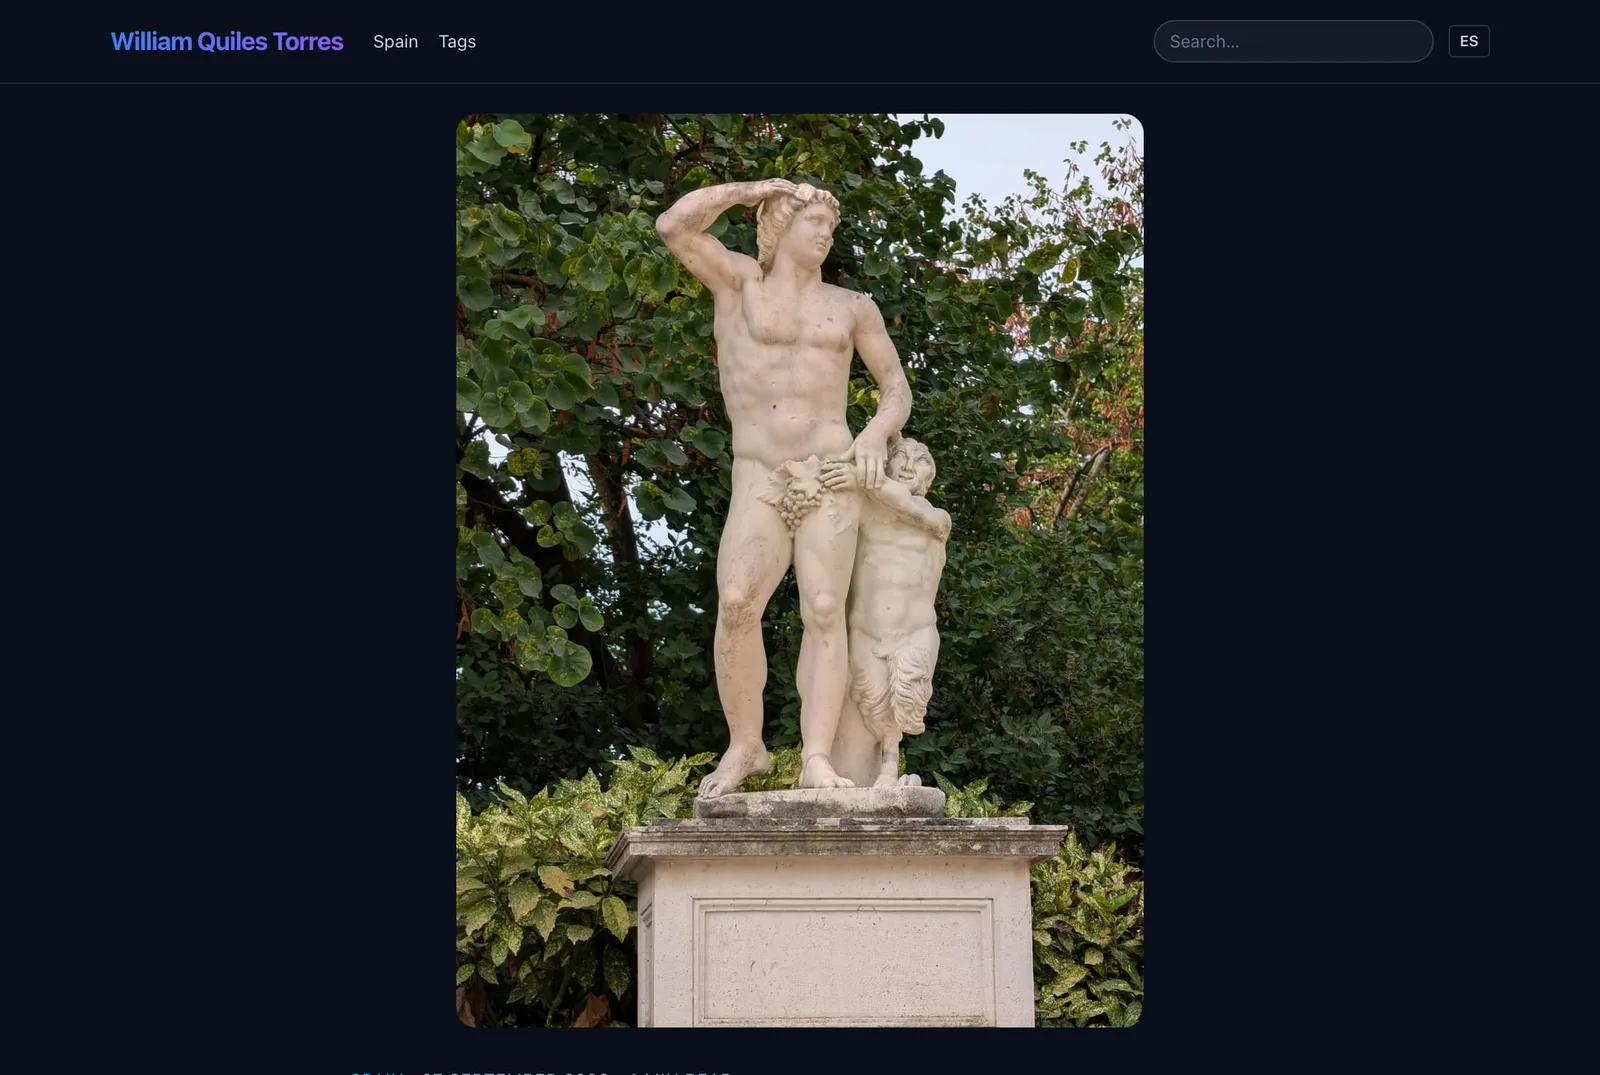
Here is the published post, with the cover photo I starred at the top:
Later on Sunday I added the captions, the draft step that writes the post in my voice from a short outline, and the Spanish translation step. By Monday I had the Photos panel, where I can swap a photo for an edited version from DxO PhotoLab, add or remove shots, or pick a new cover. And at 16:42 on Monday, 28 September, the first post went live: the morning at Jardín El Capricho. About three days from empty folder to published.
Here is the location box that appears at the end of a post, with the address and a link to the map:

A couple of things about how it actually works, because the privacy part is the reason I bothered to build it this way:
- Every photo has its location data and camera details removed before it goes online. The GPS only ever becomes a city name, never a precise pin.
- Faces are found on my own Mac using Apple’s Vision. Strangers get a soft blur, and my family stays sharp with one click. The site simply refuses to publish a photo with a face that nobody has decided on.
- Faces are not the only private thing in a photo. Every photo is also read for text on my own Mac: an email address, a phone number, a number plate, a QR code, or any word on my private “never-show” list (family names, my street, and so on). The AI also takes a second look for things that aren’t text, like a letter or a name badge. For each one I click Blur or It’s fine, and the site will not publish until I have decided every one.
- The AI runs on my own Mac Studio at home, so my photos never go to an outside service before I publish them.
The draft step learns my voice from a guide I built out of my old posts and emails. It only uses the facts I give it, and anything it is not sure about is marked for me to check. It still needs my edits, but it gets me roughly 80-90% of the way there.
For the first post (23 photos), the real timings were: about 3 seconds per photo to score, about 4 seconds per caption, about 80 seconds for the first draft, a bit over 2 minutes for the Spanish version, and about a minute from clicking Publish to it being live.
Working with the AI felt like pair-programming with a very fast partner. I described what I wanted and tested every step with real photos; it wrote the code and fixed what I found. Many of the best features actually came from me hitting a snag - a Faces button that seemed to do nothing, or a cover photo that cut off a statue’s head.
The website itself has no cookies, no ads, no analytics, no comments and no third-party scripts. Hosting is free on Cloudflare Pages, I already owned the domain, and the AI runs on hardware I already had. No subscriptions.
And yes - this very post was made with the same pipeline, just with screenshots instead of photos.
Will